Keyboard DIY
News Reviews How-To's
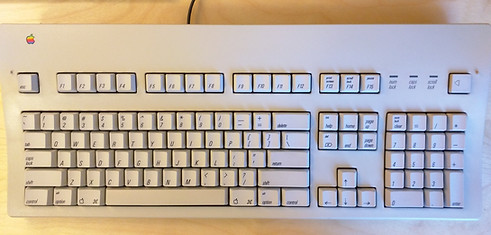
Whether it's for the nostalgia or uniqueness, vintage keyboards are great additions to any keyboard collection. For this tutorial, I will be converting an Apple Extended Keyboard II (AEKII) with Mitsumi Alps Clone switches. The AEKII, like many of the vintage Apple boards, uses ADB cables/plugs which are not compatible with modern computers. With this conversion we will be using a micro-controller to make the board compatible with USB and fully programmable.
Build materials:
Apple Extended Keyboard II
Soldering equipment
Wires Solid or Stranded (22-30awg will do)
Micro Controller (Pro Micro or Teensy 2.0)
Screw driver
You can choose either a Pro Micro or a Teensy 2.0 to do this conversion. Pro Micro's are much cheaper, but can be more difficult to program your firmware onto. Teensy's are very easy to program and have great QC, but are more expensive. Please note which one you have, as the process for both are slightly different. I will be using a Pro Micro in this guide.
Opening the Case
*Depending on the condition of your board, You may want to take the keycaps off and clean the plate and caps. I opt to do this every time I do a conversion/restoration. I will be explaining the bare minimum to do the conversion but if you would like to do a wipe down of the board here is a great tutorial on how to disassemble the whole board. https://www.ifixit.com/Teardown/Apple+Extended+Keyboard+II+Teardown/42138
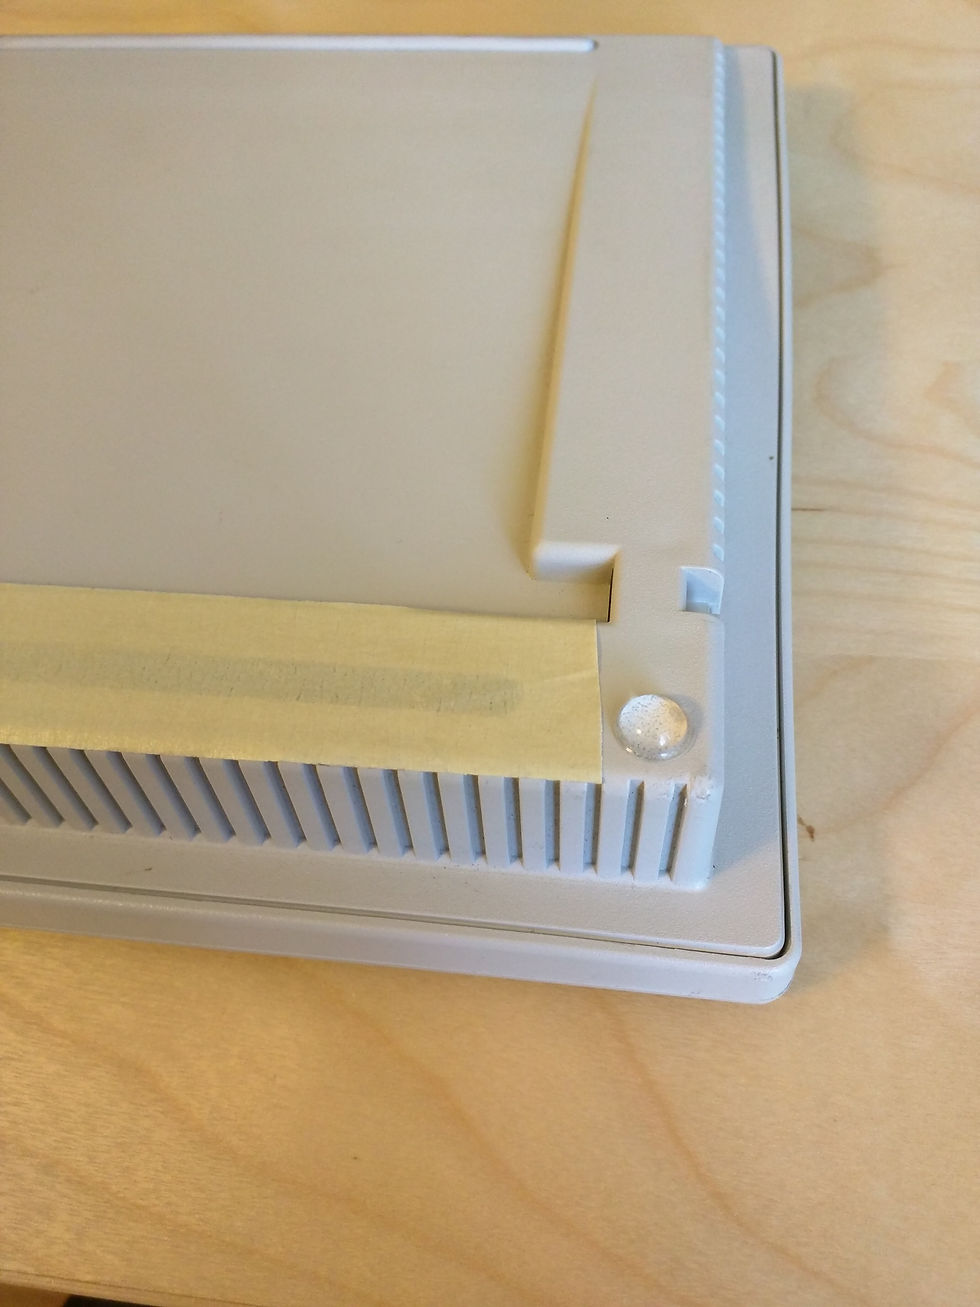
Disassemble the keyboard. First flip the keyboard upside down and remove the screw in the middle on the top. Now you will want to use either your fingers or a plastic tab opening tool to remove the top plate. Now you should be able to see whole plate of the keyboard.
Making the conversion
There are two ADB ports on the keyboard. I chose the solder on the right side port because there is a hole underneath it that many people will decide to run their cable through. I gently push the port upwards from both sides gently. Once out, you should be able to see the green pcb with solder joints. (I missed taking a picture of it so here is a picture of the other side: Example Right Side Port
You will now want to start warming up your soldering iron and prep 3 pieces of wire. Here we are looking to connect the ADB pin 1 (data) to Teensy pin PD0, pin 3 to Teensy VCC(5v), and pin 4 to Teensy GND
Vintage Boards
AEKII Conversion


If you are using a Pro Micro like me, PD0 will be at Port 3
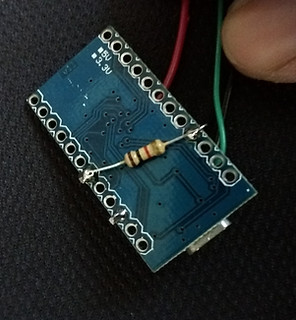
I soldered to the back of the port so it can still be used with ADB Macs. I solder the wires from the port first and then into the Microcontroller. I ended up flashing the microcontroller and plugging the board in. The led's lit up, but the board would not register key presses and the mouse would randomly move to the left and up. This meant that I would need to add a resistor. I bent the resistor around the controller and tack in with the soldering iron (adding solder in necessary)
Building The Firmware and Flashing the Controller
Thanks to some awesome mechanical keyboard contributors at GeekHack we can make our Hex through the use of TMK Keymap Editor. Once you have your hex saved it's time to flash it onto your Pro Micro (AVRdudess) or Teensy (TeensyLoader) and test it out to make sure that all your keys are working. If every thing registers, we can move onto placing the controller and fitting in the USB cable. It can be as easy as enlarging the hole on the bottom right side or as complicated as drilling a hole through the case on left side (like I did). This section is more up to the user so I here is a gallery of images from my build. Once the USB is connected on routed to the outside of the case, reassemble the case and you have a fully programmable vintage keyboard for use with modern computers!