Keyboard DIY
News Reviews How-To's
Making Your Own Keyboard
Flashing your Pro Micro
Now that you have your Hex file from the previous section, you will need to program (flash) it onto your Pro Micro. The most sure fire way to do it is on Linux, but there are more Windows users so I will be basing my guide on Windows 10 (I've had no issues using this method). The program we will be using to flash is called AVRDUDESS. (2.4 is the current revision) Download and install it. (If you get a lib error read below)


Setup
Set programmer (c-) to Atmel AppNote AVR109 Boot Loader
Set MCU (-p) to ATmega 32u4
Set Flash to your .Hex file by clicking the "..."
To put your Pro Micro into bootloader mode you have to connect the GND and RST pins together twice quickly shortly after plugging it in.
Check to make sure you have correctly done the setup
Click the Port drop down menu. Take note of what COM#'s are listed.
The next steps are time sensitive so be quick.
Have the mouse over Port drop down menu and put the Pro Micro into bootloader mode.
Click and select the COM that wasn't initially there and press Program. You should see some moment and progress bars in the black box. When it's done your keyboard should be ready for use and testing!
If you receive an error when opening AVRDUDESS saying that you are missing a LIB file. I have found that rebooting after downloading and installing WinAVR has helped this issue.
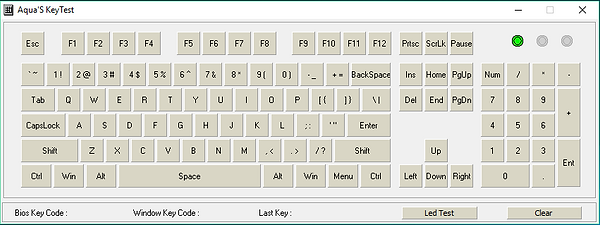
Testing your Keyboard
It's always good to check your work and make sure that the keys and layers are working and inputting properly. I like to use aquakey test. Here is a link! https://geekhack.org/index.php?topic=34670.0